Understanding Waterproof Vinyl Flooring
When it comes to flooring options in modern households, waterproof vinyl flooring stands out as a preferred choice for many homeowners and designers. Its practical benefits, along with its aesthetic appeal, make it a versatile solution for various living spaces. But what exactly is waterproof vinyl flooring, and how does it differ from traditional flooring materials? This article delves deep into the characteristics, advantages, installation processes, and design possibilities of this innovative flooring option.
What Makes Vinyl Flooring Waterproof?
Waterproof vinyl flooring is primarily manufactured using a unique blend of materials that allows it to resist water effectively. The core is typically formed from a synthetic blend, often referred to as WPC (Wood Plastic Composite) or SPC (Stone Plastic Composite). These cores are engineered to prevent moisture from penetrating, which mitigates the risk of warping and damage that often plagues traditional wooden flooring.
Materials Used in Waterproof Vinyl Flooring
The primary components of waterproof vinyl flooring include
- Thermoplastic Polyolefins (TPO): This material forms the top layer, imparting waterproof characteristics while offering longevity and resistance to wear.
- Foam Backing: This layer adds cushioning and contributes to sound insulation, making the flooring softer underfoot.
- Sealants: Effective sealants are used at the seams, preventing any potential water ingress.
These materials converge to create a product that not only withstands moisture but is also durable and pleasant to walk on.
Comparing Waterproof Vinyl to Other Flooring Options
When evaluating flooring options, waterproof vinyl flooring holds numerous advantages over alternatives such as laminate, tiles, and traditional wood flooring. Here’s a comparative snapshot:
| Feature | Waterproof Vinyl | Laminate | Tile | Hardwood |
|---|---|---|---|---|
| Water Resistance | 100% Waterproof | Water Resistant | Water Resistant | Not Water Resistant |
| Softness Underfoot | Yes | No | Hard Surface | Variable |
| Installation Ease | Easy | Moderate | Complex | Complex |
| Maintenance | Low | Moderate | High | High |
Overall, waterproof vinyl flooring emerges as a frontrunner for high-humidity areas, primarily due to its moisture resistance and easy maintenance.
Benefits of Waterproof Vinyl Flooring
Durability and Maintenance Ease
Waterproof vinyl flooring is incredibly durable, designed to handle the rigors of daily life. Its top layer is resistant to scratches, impacts, and stains, making it a perfect choice for homes with pets and children. Maintaining these floors is straightforward: regular sweeping and the occasional mopping with a mild cleaner are all that’s required to keep them looking new.
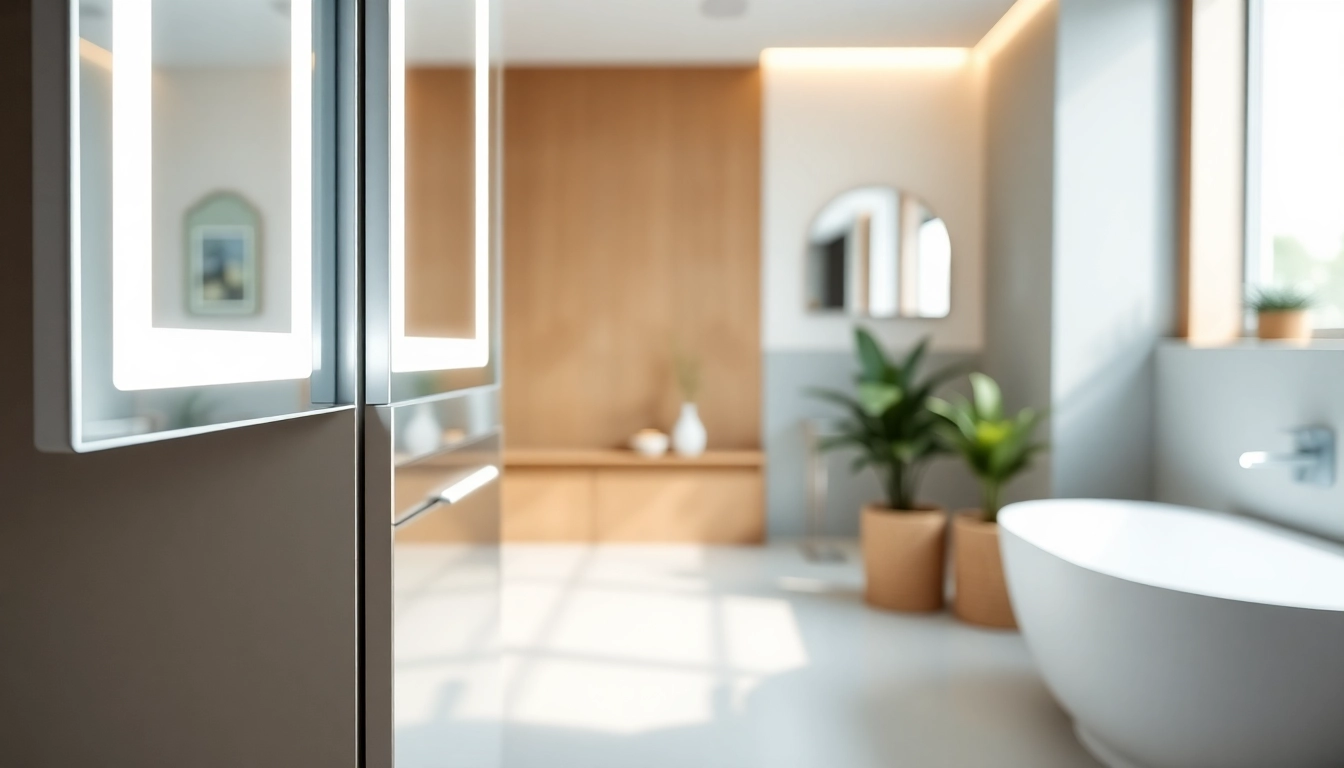
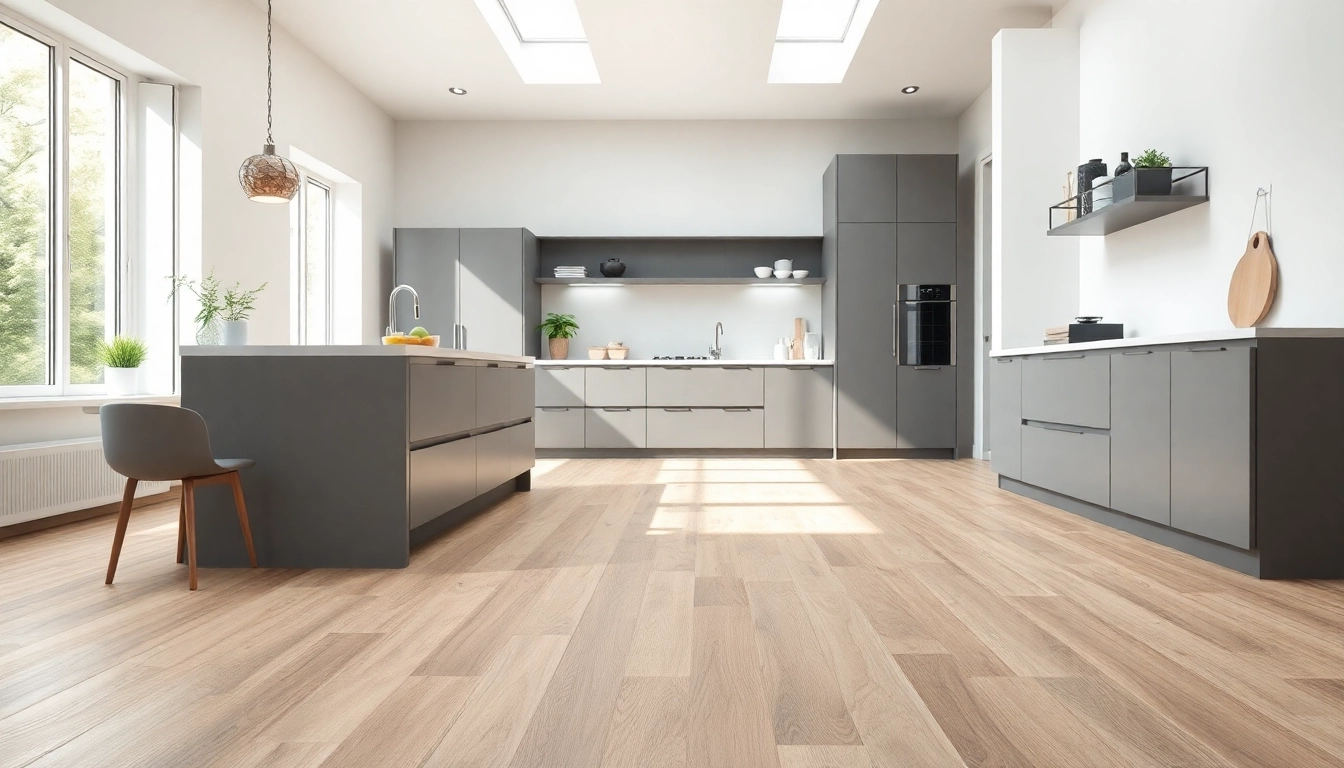
Ideal for High-Humidity Areas
Waterproof vinyl flooring is an excellent selection for areas prone to moisture, such as bathrooms, kitchens, and basements. Unlike laminate or hardwood options, waterproof vinyl does not swell or warp when exposed to water, making it suitable for installation in areas that see spills, splashes, and higher humidity. This property significantly enhances the lifespan and functionality of the flooring.
Cost-Effectiveness and Value
When considering costs, waterproof vinyl flooring often presents a more budget-friendly solution over time. Installation costs can be lower than traditional flooring, and reduced maintenance needs contribute to long-term savings. The potential longevity of this flooring type means homeowners are not regularly re-investing in new flooring, further solidifying its cost-effectiveness.
Installation Process for Waterproof Vinyl Flooring
Understanding the installation process of waterproof vinyl flooring can enhance user experience and ensure a successful project outcome. It’s essential to have the right tools and materials and follow proper protocols to achieve the best results.
Tools and Materials Needed
- Measuring tape
- Utility knife
- Straight edge
- Spacers (to create gaps around the perimeter)
- Underlayment (if required)
- Flooring planks or sheets
- Rolling pin (for sheet installation)
- Leveling compound (if the subfloor requires leveling)
Step-by-Step Installation Guide
- Preparation of the subfloor: Ensure it’s clean, dry, and level. Address any irregularities with a leveling compound.
- Measure and cut the vinyl as necessary. Use a utility knife and straight edge for a clean cut.
- Install the underlayment if required, making sure to follow the manufacturer’s recommendations.
- Begin laying the vinyl planks or sheets from one corner, staggering the seams for optimal stability.
- Use spacers to maintain the necessary gap at walls and other vertical surfaces.
- After laying the vinyl, check for any air pockets or imperfections. Use a rolling pin for sheets to ensure proper adhesion.
- Finish the installation by installing the baseboards, covering expansion gaps as needed to complete the look.
Common Installation Mistakes to Avoid
Even seasoned DIYers can encounter challenges during installation. Common pitfalls include:
- Skipping the subfloor preparation, which can lead to unevenness.
- Failing to properly acclimatize the vinyl prior to installation, risking expansion or contraction post-installation.
- Not using spacers, which can cause gaps or buckling after installation.
Being aware of these common mistakes can smooth the installation process and preserve the quality of your waterproof vinyl flooring.
Styling Your Space with Waterproof Vinyl Flooring
Waterproof vinyl flooring offers endless design possibilities. It comes in many colors, textures, and styles, allowing it to fit within various aesthetic preferences and themes in your home.
Choosing the Right Color and Texture
When selecting the appropriate color and texture, consider the overall aesthetic of your space. Light colors can make a room feel more expansive, while dark tones can add warmth and richness. Textures that mimic wood grains or stone patterns can enhance the authenticity of your design.
Design Ideas for Different Rooms
Consider the following design ideas for various rooms:
- Kitchen: Opt for tile-like patterns for a classic look or wood-patterned vinyl for a warmer feel.
- Bathroom: Choose lighter shades to create a sense of cleanliness, complementing the white fixtures.
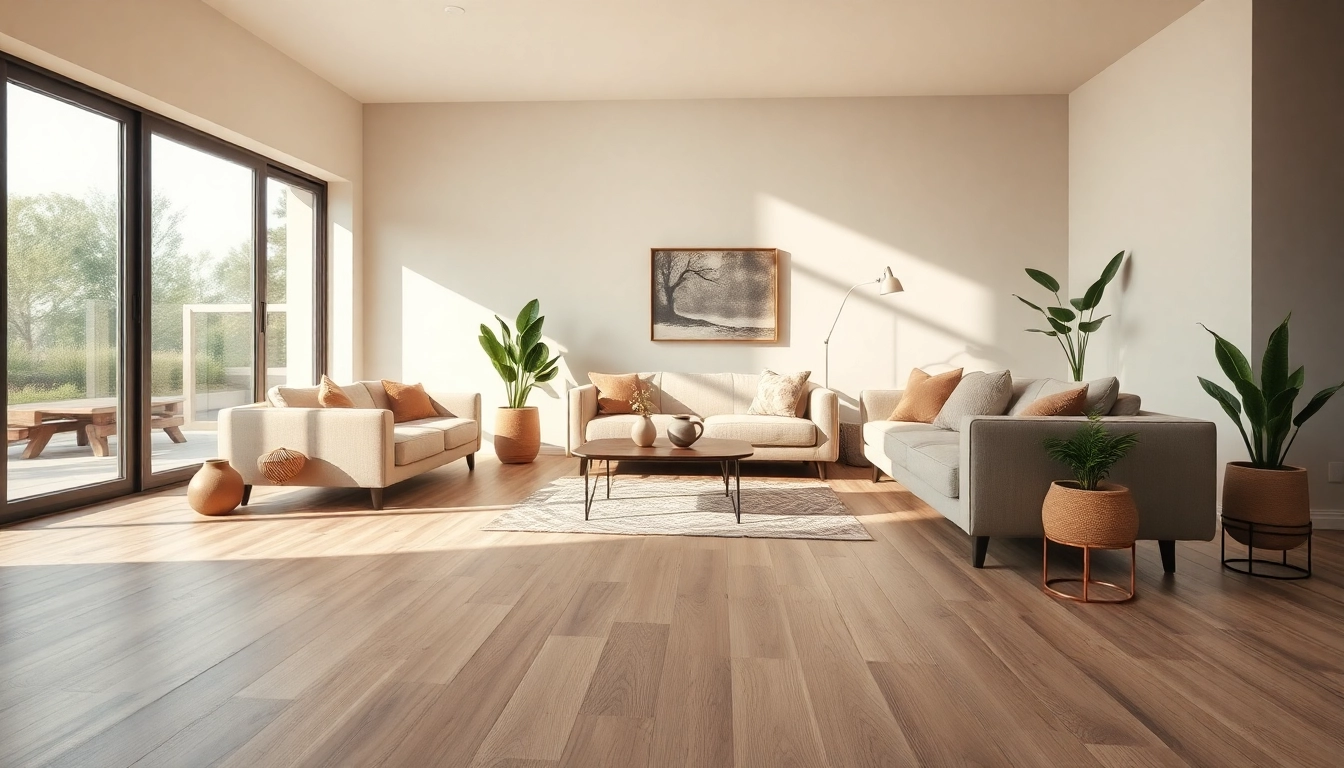
- Living Room: Use a wood finish for a cozy atmosphere that pairs well with various furniture styles.
Complementary Décor to Enhance Aesthetics
To further enhance the appeal of waterproof vinyl flooring, consider the accompanying décor. Area rugs, throw pillows, and curtains in complementary colors can bring out the flooring’s positive aspects and tie the room together.
FAQs About Waterproof Vinyl Flooring
Is waterproof vinyl flooring suitable for bathrooms?
Yes, waterproof vinyl flooring is an excellent choice for bathrooms due to its moisture resistance and ease of maintenance.
Can waterproof vinyl flooring be installed over existing floors?
In many cases, waterproof vinyl flooring can be installed directly over existing floors, provided they are smooth and undamaged.
How can I keep my waterproof vinyl flooring clean?
Regular sweeping and occasional mopping with a mild cleaner will keep your waterproof vinyl flooring looking fresh and clean.
What is the lifespan of waterproof vinyl flooring?
The lifespan can vary but typically ranges from 10 to 20 years with proper maintenance and care.
Does waterproof vinyl flooring require underlayment?
While not always necessary, underlayment offers extra moisture protection and sound dampening. It is worth considering for added durability.